

How to grow walnut, Unlock the secrets of successful walnut cultivation with our comprehensive guide tailored for beginners. In this article, we’ll walk you through the process of growing walnuts in 10 easy-to-follow steps, ensuring a bountiful harvest for years to come.
Step 1: How to grow walnut, Selecting the Right Location
Choosing the perfect spot for your walnut tree is crucial for its overall health and productivity. Opt for a sunny location with well-drained soil and ample space for the tree to establish its roots and spread comfortably. Consider factors such as sunlight exposure, air circulation, and proximity to other plants.
Step 2: Preparing the Soil
Prepare the soil meticulously to create an optimal growing environment for your walnut tree. Begin by loosening the soil to a depth of at least 18 inches using a shovel or garden fork. Incorporate organic matter such as compost or aged manure to improve soil fertility, structure, and drainage. This step is essential for providing the necessary nutrients and moisture retention for healthy root development.
Step 3: Choosing the Variety
how to grow walnut, Selecting the right walnut tree variety is crucial to ensure successful growth and productivity in your specific climate and growing conditions. Common walnut varieties include English, Black, and Persian walnuts, each with its unique characteristics and requirements. Consider factors such as climate, soil type, and available space when choosing the variety best suited to your garden or orchard.
Step 4: Planting the Tree
Plant your walnut tree during the dormant season, typically in late winter or early spring, to promote optimal root establishment and growth. Before planting, dig a hole slightly larger than the tree’s root ball and carefully position the tree at the same depth as it was in the nursery container. Ensure the tree is planted firmly and water thoroughly after planting to settle the soil around the roots.

Step 5: Providing Adequate Water
Water is essential for the healthy growth and development of walnut trees, especially during the establishment phase. Ensure your walnut tree receives sufficient water, particularly during hot and dry periods, to prevent stress and dehydration. Water deeply and regularly, allowing the soil to dry out slightly between waterings to avoid waterlogging and root rot.
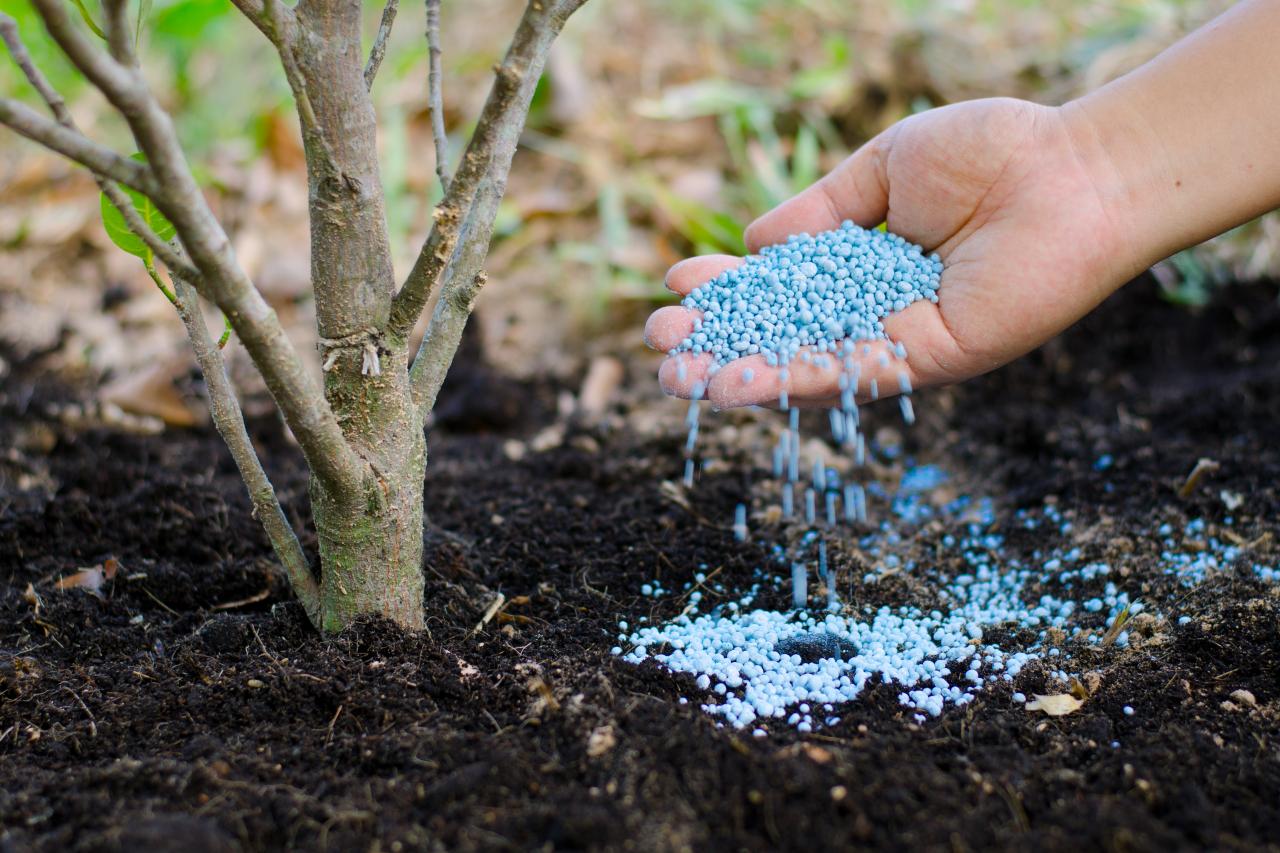
Step 6: Fertilizing Regularly
Regular fertilization is essential to provide walnut trees with the necessary nutrients for vigorous growth and abundant fruit production. Feed your walnut tree with a balanced fertilizer formulated for fruit trees, following the manufacturer’s instructions for application rates and timing. Apply fertilizer in early spring before new growth begins to support healthy foliage and fruit development throughout the growing season.
Step 7: Pruning for Structure
Pruning is a vital aspect of walnut tree care, helping to promote strong branch structure, improve air circulation, and enhance overall tree health and productivity. Prune your walnut tree annually during the dormant season to remove dead, diseased, or damaged branches and thin out crowded areas to allow for better light penetration and air movement. Additionally, shaping the tree’s canopy can help encourage upward growth and facilitate easier harvesting and maintenance.
Step 8: Protecting Against Pests and Diseases
Monitoring your walnut tree regularly for signs of pests and diseases is essential for early detection and prevention of potential problems. Common pests that affect walnut trees include aphids, walnut husk flies, and various fungal infections, which can cause damage to foliage, flowers, and fruit if left untreated. Implementing integrated pest management strategies such as proper sanitation, biological controls, and cultural practices can help minimize pest and disease pressures while reducing the need for chemical interventions.
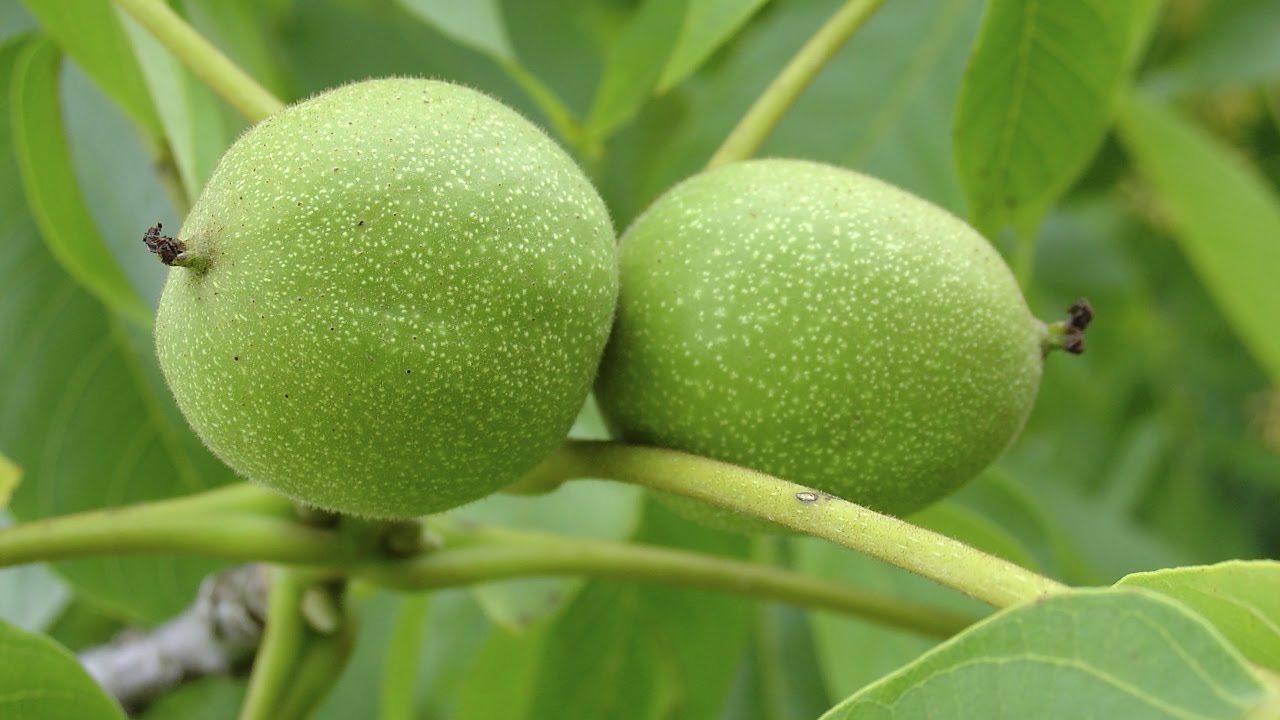
Step 9: Harvesting Your Walnuts
Patience is key when it comes to harvesting walnuts, as they require adequate time to mature and develop their characteristic flavor and texture. Wait until the husks surrounding the nuts split open and the nuts inside turn brown before harvesting. This usually occurs in late summer or early fall, depending on the variety and growing conditions. Once ready, collect the nuts from the ground and remove the husks promptly to prevent staining and spoilage. Allow the nuts to dry thoroughly before storing or cracking them open to enjoy their delicious kernels.
Step 10: Enjoying the Fruits of Your Labor
Congratulations on successfully growing your own walnuts! Now it’s time to reap the rewards of your hard work and patience. Whether you prefer to enjoy the nuts straight from the shell or incorporate them into your favorite recipes, homegrown walnuts offer a delicious and nutritious addition to your culinary endeavors. Share the bounty with friends and family or savor the satisfaction of enjoying your homegrown harvest all to yourself.

Embarking on the journey of “how to grow walnut” may seem daunting at first, but with the right knowledge, preparation, and care, anyone can successfully grow these delicious nuts at home. By following our comprehensive 10-step guide, you’ll be well-equipped to nurture healthy walnut trees and enjoy a bountiful harvest for years to come. Happy gardening!