How to Grow Amla Tree: Ultimate Guide for Healthy Harvest

how to grow amla tree

In the realm of fruit-bearing trees, understanding how to grow amla tree stands as paramount for enthusiasts. The Amla tree, also known as the Indian gooseberry, offers a plethora of health benefits and an exotic charm to any garden. Cultivating an Amla tree successfully requires a blend of knowledge, care, and dedication. In this comprehensive guide, we’ll delve into everything you need to know to master the art of how to grow amla tree in your own backyard.

Understanding the Amla Tree

Before diving into the specifics of how to grow amla tree, it’s essential to understand its nature and requirements. Botanically known as Phyllanthus emblica, the Amla tree is native to the Indian subcontinent. It thrives in subtropical and tropical regions, reaching heights of 8 to 18 meters. The crooked trunk and spreading branches adorned with small, feathery leaves characterize its appearance. Its resilience and adaptability make it an attractive addition to any garden.
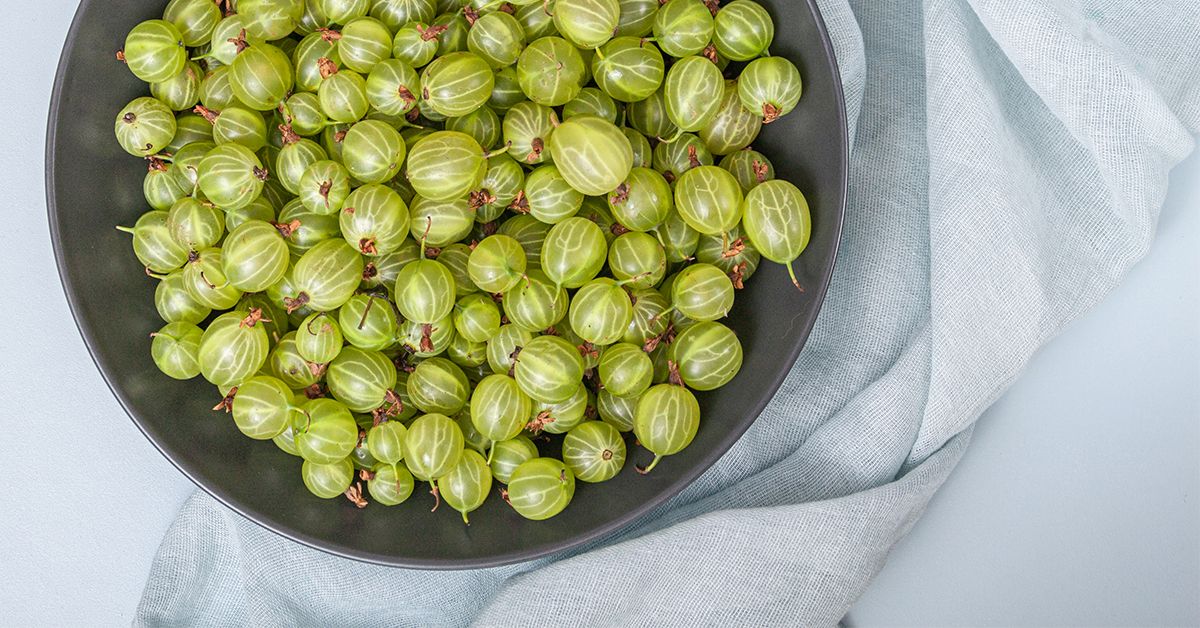
6 Emerging Benefits of Amla Juice

Selecting the Right Location

One of the critical factors in mastering how to grow amla tree is selecting the optimal location. Amla trees require ample sunlight to thrive, making a spot in your garden with full sun exposure essential. Additionally, ensuring well-draining soil is crucial to prevent waterlogging, which can harm the roots and overall health of the tree.

How to Grow Amla Tree, Preparing the Soil

Preparing the soil is a vital step in the journey of how to grow amla tree successfully. Amla trees prefer slightly acidic to neutral soil with a pH range of 5.5 to 7.5. Amending the soil with organic matter such as compost or well-rotted manure can improve its texture and fertility, creating an ideal environment for healthy root development.

Planting Your Amla Tree

Now that you’ve prepared the soil, it’s time to plant your Amla tree. Whether you opt for bare-root or container-grown saplings, the planting process remains the same. Dig a hole twice the width of the tree’s root ball and of equal depth. Gently remove the sapling from its container or packaging, taking care not to disturb the roots, and place it in the center of the hole. Backfill the hole with soil, ensuring the tree is planted at the same depth as it was in the container, and water thoroughly to settle the soil.
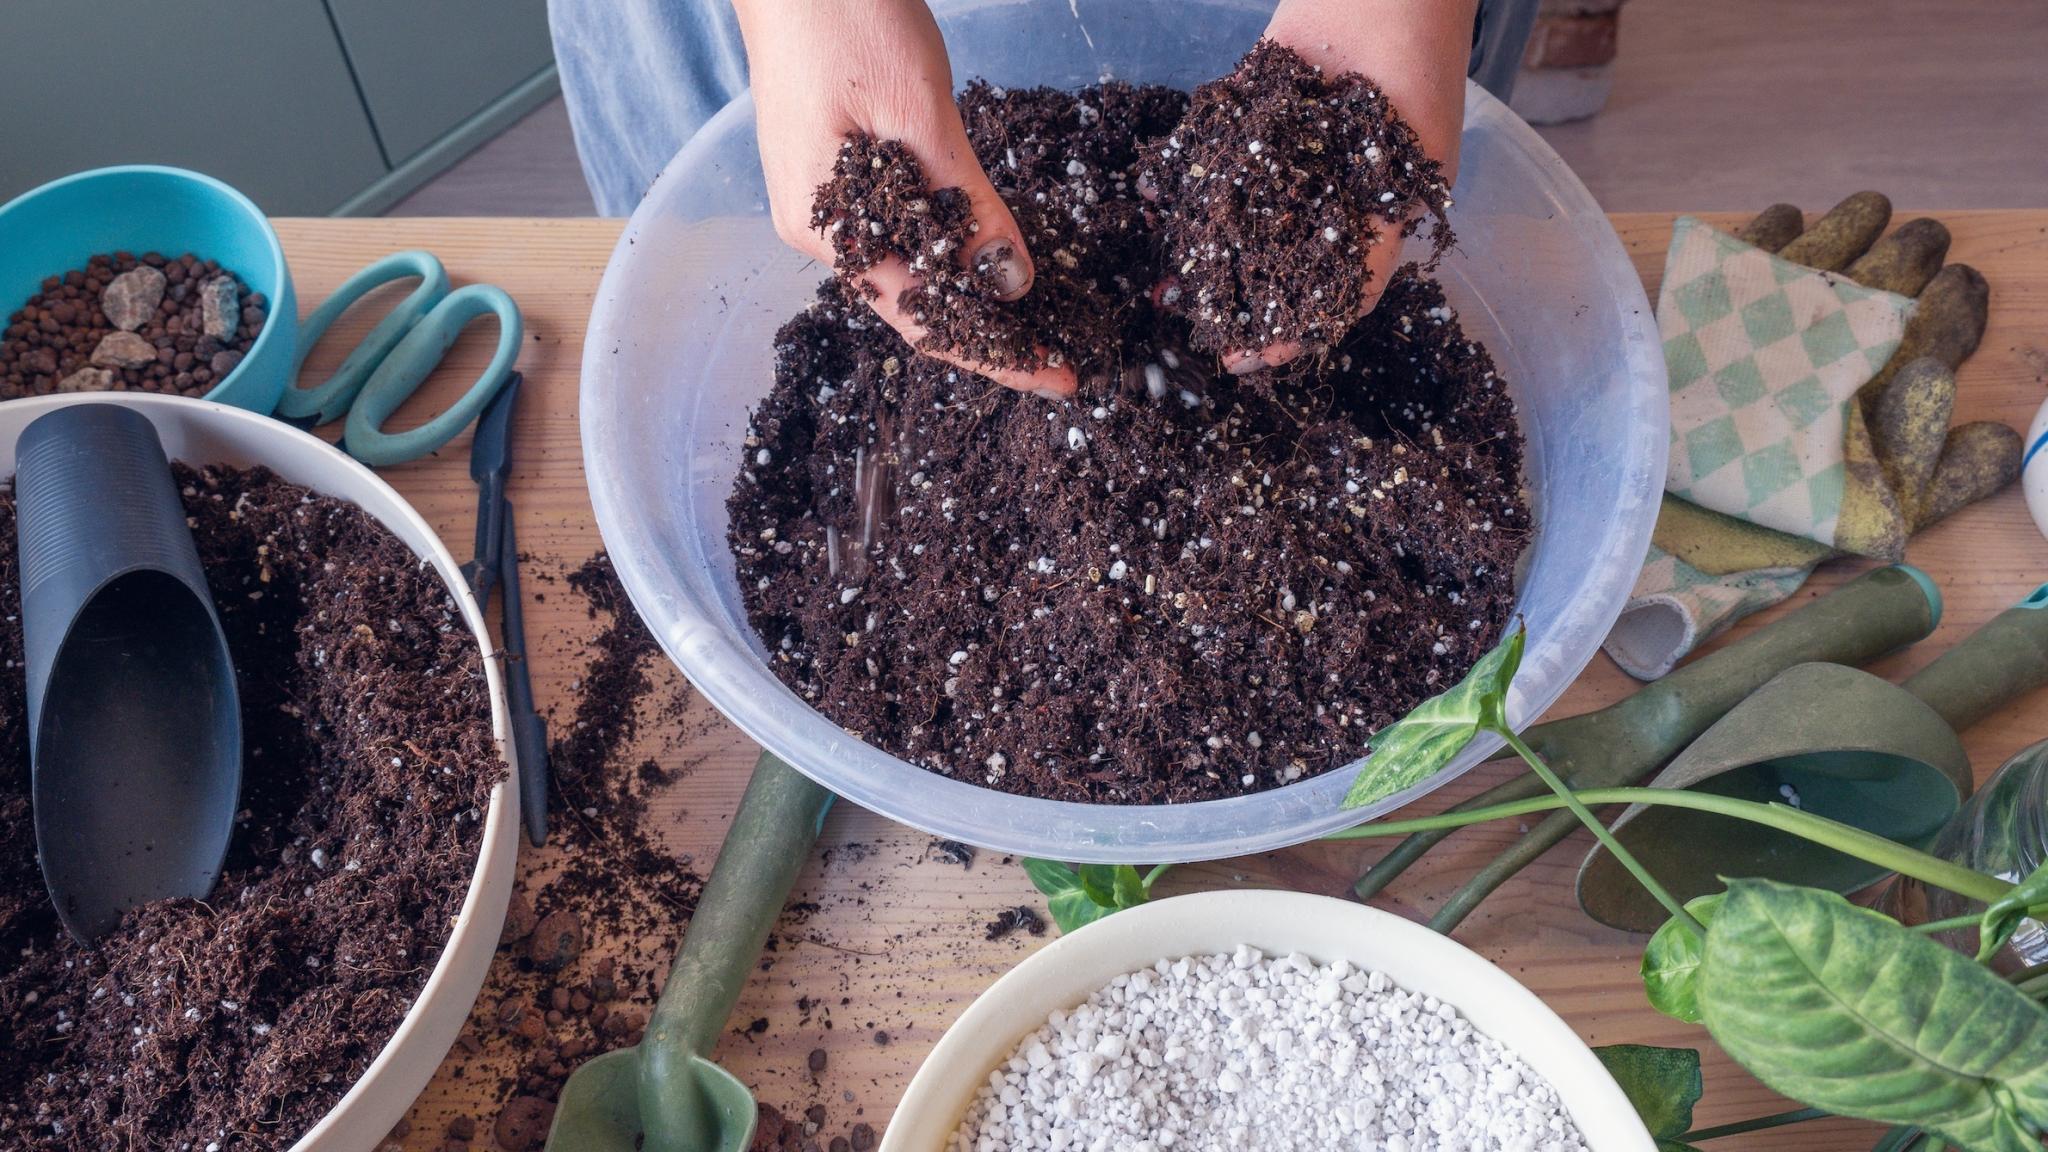
Simple Guide on How to Grow Amla Seeds

Caring for Your Amla Tree

Proper care is essential for the health and productivity of your Amla tree. Regular watering, especially during dry periods, is crucial to keep the soil moist but not waterlogged. Mulching around the base of the tree can help retain moisture and suppress weeds. Fertilize your Amla tree with a balanced fertilizer in early spring to promote healthy growth and fruit production. Pruning is also necessary to maintain the tree’s shape and remove any dead or diseased branches.

Harvesting Amla Fruits

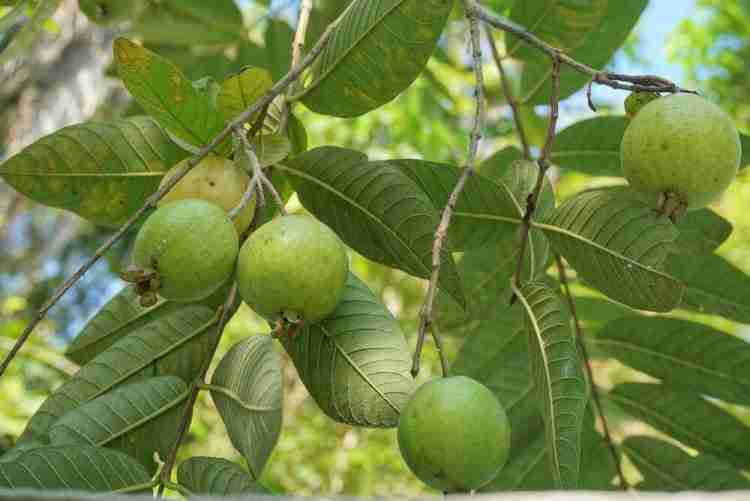
With proper care and attention, your Amla tree will reward you with a bountiful harvest of nutritious fruits. Amla fruits typically ripen in late summer to early fall, turning from green to yellowish-green or light green when fully mature. Harvest the fruits by gently twisting them from the branch, taking care not to damage the surrounding foliage. Fresh Amla fruits can be enjoyed raw, juiced, or used in various culinary applications, including jams, chutneys, and preserves.
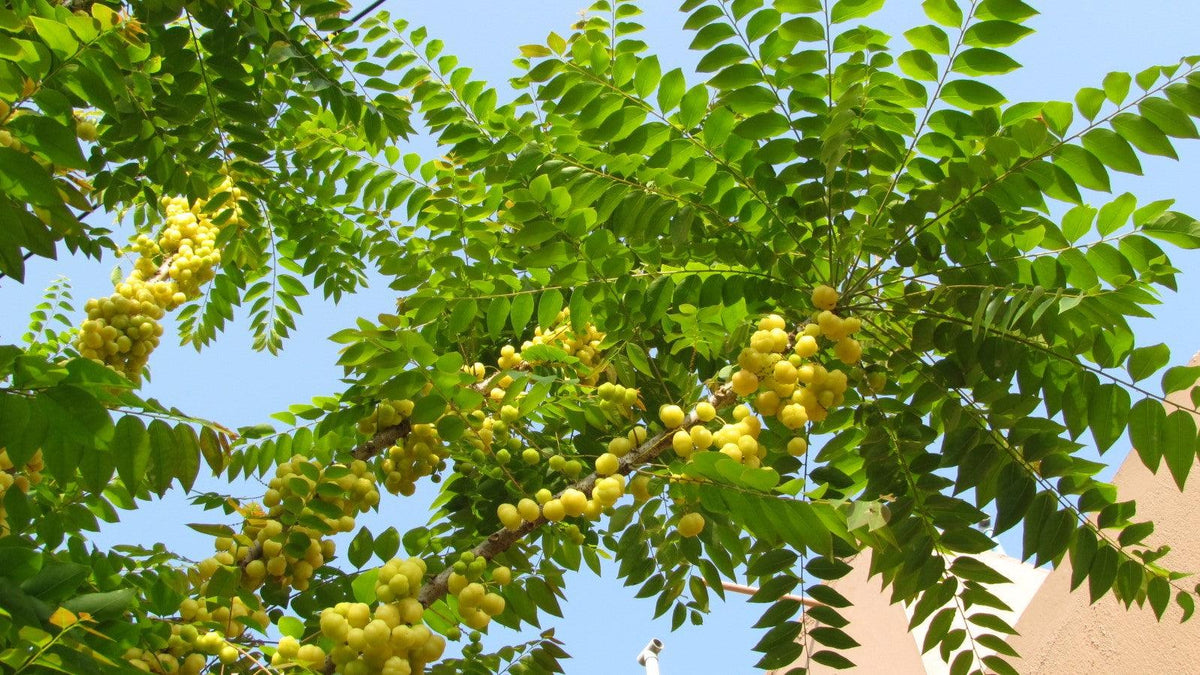
The Complete Guide to Amla Plant and Why You Should Add it to Your Die —  Kadiyam Nursery

Conclusion

Mastering how to grow amla tree requires patience, knowledge, and a love for gardening. By understanding the needs of the Amla tree and providing the proper care, you can enjoy a sustainable supply of vitamin-rich fruits straight from your garden. So roll up your sleeves, follow these guidelines, and embark on your journey to growing a healthy and fruitful Amla tree today!

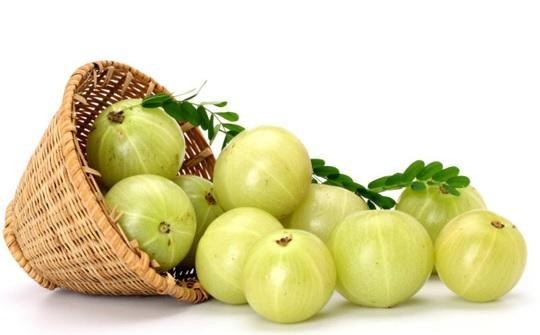
Step-by-Step Guide: How to Grow Areca Palm Successfully

How to Grow Areca Palm

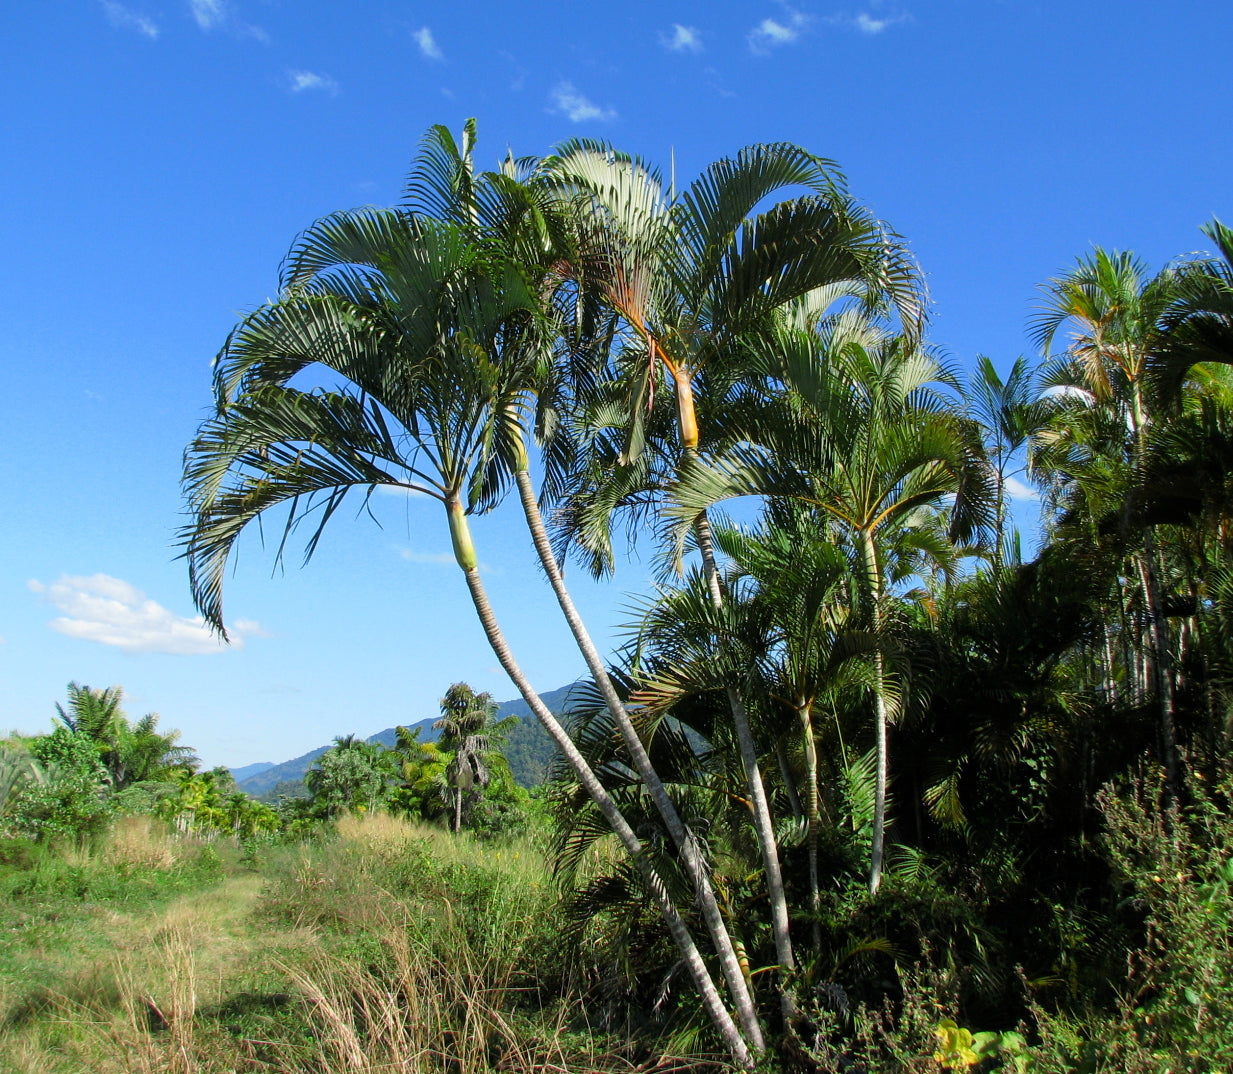
How to grow Areca Palm, known for its graceful fronds and air-purifying qualities, is a popular choice among indoor gardeners. Its vibrant green foliage adds a touch of tropical elegance to any space, making it a prized possession for both novice and seasoned plant enthusiasts alike. If you’re new to gardening or simply looking to expand your indoor greenery collection, learning how to grow Areca Palm can be an enriching experience. In this comprehensive guide, we’ll delve into everything you need to know to cultivate and care for this stunning plant.

File:Areca palm 1.jpg - Wikimedia Commons

Understanding Areca Palm

Areca Palm, scientifically known as Dypsis lutescens or Chrysalidocarpus lutescens, is native to Madagascar and is often referred to as the Butterfly Palm or Golden Cane Palm. Its slender, yellowish-green stems are crowned with feathery, arching fronds, creating a lush canopy that resembles a tropical paradise. In optimal conditions, Areca Palm can grow up to 6 to 7 feet indoors, adding a touch of luxury to your home or office space.

Selecting the Right Location

Before diving into the intricacies of cultivation, it’s essential to choose the ideal location for your Areca Palm. This tropical beauty thrives in bright, indirect light, making it perfect for spaces with filtered sunlight. Avoid placing it in direct sunlight, as this can scorch the delicate fronds. Additionally, ensure adequate airflow around the plant to prevent the onset of pests and diseases.

How to Grow Areca Palm, Soil and Potting

Areca Palms prefer well-draining, slightly acidic soil that mimics their natural habitat. A mixture of peat moss, perlite, and sand creates the perfect growing medium, allowing excess water to drain freely while retaining essential moisture. When potting your Areca Palm, opt for a container with drainage holes to prevent waterlogging, which can lead to root rot.

11 – Areca Palm Tree of the Dougherty Garden – Transitions Over Time –  November 7, 2014 | Palms of the Dougherty Garden

Watering and Humidity

Maintaining proper moisture levels is crucial for the health and vitality of your Areca Palm. Water your plant thoroughly when the top inch of soil feels dry to the touch, ensuring that excess water drains out of the pot. However, avoid overwatering, as this can lead to root rot and other fungal diseases. To enhance humidity levels, consider misting the foliage regularly or placing a humidifier nearby, especially during the dry winter months.

Temperature and Climate

Areca Palms thrive in warm, humid environments reminiscent of their native habitat. Ideally, keep temperatures between 65°F to 75°F during the day and slightly cooler at night. Avoid exposing the plant to temperature extremes or drafts, as this can cause stress and leaf damage. If you live in a region with harsh winters, protect your Areca Palm from cold drafts and consider moving it indoors until the weather improves.

Fertilizing and Maintenance

Regular fertilization is essential for promoting healthy growth and vibrant foliage. During the growing season, from spring to early fall, apply a balanced liquid fertilizer every 4-6 weeks to replenish essential nutrients. However, reduce fertilization frequency during the winter months when growth slows down. Additionally, remove any yellowing or dead fronds regularly to maintain the plant’s appearance and prevent pest infestations.

CEPRA Landscape News | Palm Pests

Common Pests and Diseases

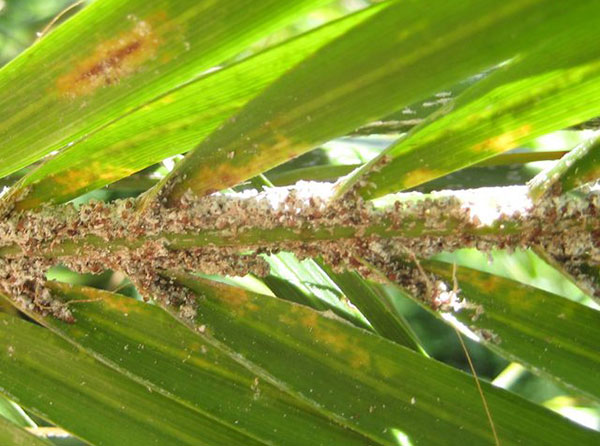
While Areca Palms are relatively resilient, they are susceptible to pests such as spider mites, mealybugs, and scale insects. Keep a close eye on your plant for any signs of infestation, such as webbing, sticky residue, or distorted growth, and treat them promptly with organic insecticidal soap or neem oil. Additionally, watch out for fungal diseases like root rot and leaf spot, which can occur due to overwatering or poor ventilation.

Propagation

Propagating Areca Palm is relatively straightforward and can be achieved through division or by planting fresh seeds. Divide mature plants during repotting, ensuring that each division has a healthy root system and several leafy stems. Alternatively, collect ripe seeds from the plant’s berries and sow them in a well-draining potting mix. Keep the soil consistently moist and provide warmth and indirect light for optimal germination.

Areca Palm Butterfly Palm Chrysalidocarpus lutescens 10 Seeds USA Comp –  R&B Floridaseeds

Conclusion

In conclusion, growing Areca Palm is a rewarding endeavor that brings a touch of tropical paradise into your home or office space. By following these expert tips and techniques, even beginners can successfully cultivate and care for this stunning plant. From selecting the right location to providing proper watering and maintenance, creating an ideal environment for your Areca Palm ensures years of lush greenery and natural beauty. Embrace the joy of gardening and watch as your Areca Palm flourishes into a majestic centerpiece of your indoor oasis.

With patience, dedication, and a bit of green-thumb magic, you’ll soon be rewarded with a thriving Areca Palm that not only enhances your surroundings but also uplifts your spirits with its timeless elegance. Happy gardening!

Ultimate Guide: How to Grow Coconut in Your Home Garden

how to grow coconut

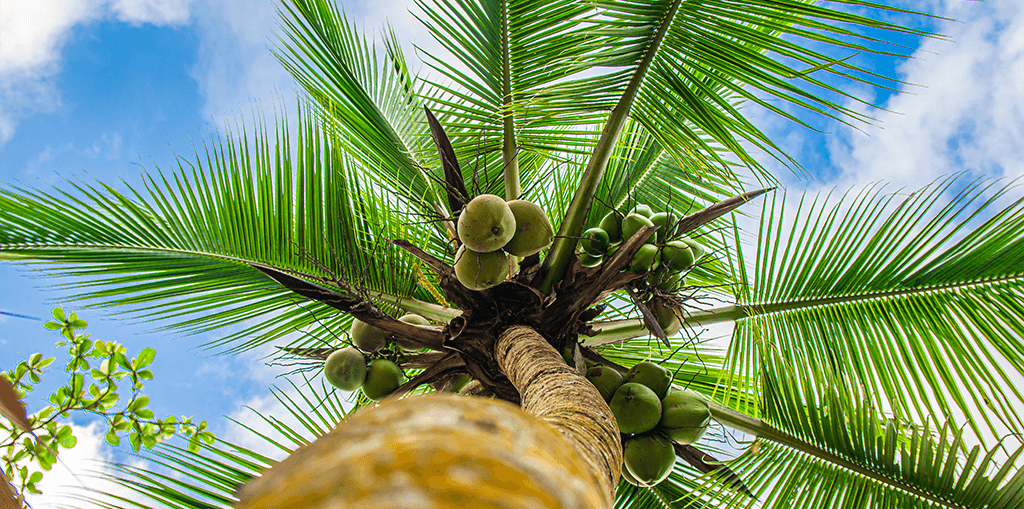
How to grow Coconut, Coconut trees, with their towering forms and lush green fronds, conjure up vivid images of tropical paradises and serene sandy beaches. However, what many don’t realize is that these iconic trees can be cultivated right in the comfort of your own backyard. Delving into the realm of coconut cultivation not only infuses your garden with an exotic allure but also grants you access to a fresh and bountiful supply of coconuts. Embark on this journey with us as we unveil the secrets to successfully growing coconut trees in your home garden, step by step.

1. Selecting the Right Variety

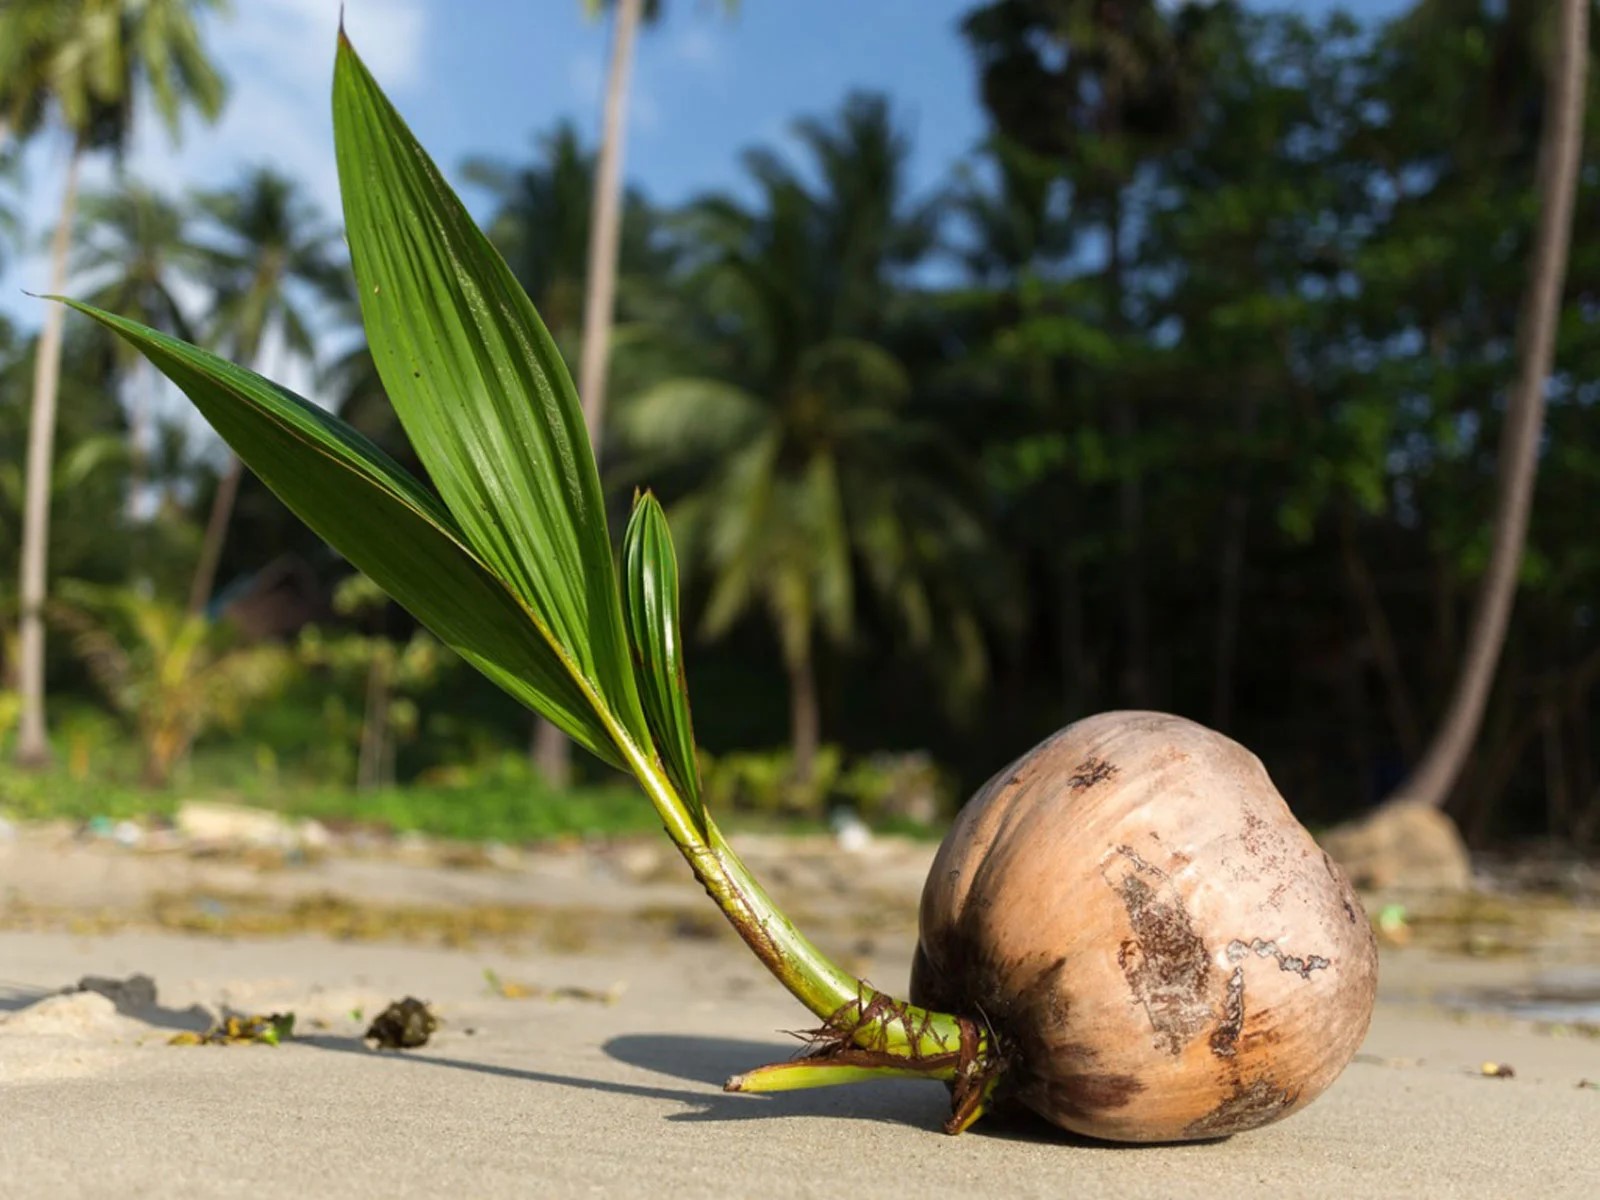
Embarking on the coconut-growing endeavor begins with the crucial step of selecting the appropriate coconut variety tailored to your specific climate conditions. With a myriad of choices available, ranging from tall to dwarf varieties, it’s essential to match the characteristics of the coconut tree with the environmental nuances of your region. While tall varieties flourish in tropical climates, their dwarf counterparts exhibit adaptability, thriving in subtropical regions and even within the confines of indoor spaces.

How To Grow Coconut From Seed | Storables

2. Climate and Location

Thriving in warm, tropical climates replete with ample sunlight and moisture-laden air, coconut trees demand a nurturing environment devoid of frost. Thus, meticulous consideration must be given to the location of your coconut tree, ensuring it basks in the radiant warmth of the sun while being shielded from harsh cold spells. For those residing in cooler climates, the provision of a greenhouse or indoor setting can serve as a viable alternative, fostering optimal conditions for coconut cultivation, especially when learning “How to Grow Coconut.

3. Soil Preparation

The foundation for successful coconut cultivation lies in the preparation of the soil, a task that warrants careful attention to detail. Crafting a nutrient-rich blend entails the harmonious amalgamation of compost, sand, and perlite, thereby facilitating superior drainage and ensuring the optimal growth of coconut trees. Additionally, catering to the preferences of coconut trees, the soil’s pH level should ideally range between 5.5 to 7.0, offering an acidic to neutral milieu conducive to robust growth.

4. How to grow Coconut, Planting

With preparations complete, the momentous occasion of planting your coconut tree arrives, symbolizing the commencement of a transformative journey. The act of planting necessitates the excavation of a hole twice the width and depth of the root ball, providing ample room for the nascent tree to establish its roots firmly. Tenderly nestling the tree within its newfound abode, diligent backfilling ensues, ensuring the soil envelops the base snugly. Subsequent hydration, via thorough watering, serves as a nurturing gesture, fostering the tree’s initial stages of growth.

Four benefits of coconut water - Plant Love Radio

5. Watering

An indispensable aspect of coconut tree care revolves around the consistent provision of moisture, particularly during the formative years of growth. Sustaining a delicate balance, the soil must remain adequately moist, albeit refrain from succumbing to waterlogged conditions. As the winter months usher in dormancy, a judicious reduction in watering frequency aligns with the tree’s altered physiological needs, safeguarding against potential inundation.

6. Fertilizing

How to grow Coconut, Augmenting the nutritional profile of the soil necessitates periodic fertilization, a practice underscored by the infusion of a balanced fertilizer rich in potassium and magnesium. Executed at three-month intervals throughout the growing season, this regimen complements the tree’s inherent nutritional requirements, bolstering its vitality and resilience.

7. Pruning

Promoting the tree’s aesthetic appeal and physiological vigor, regular pruning emerges as an imperative facet of coconut tree maintenance. Targeting dead or damaged fronds, this corrective measure stimulates new growth while mitigating the risk of disease proliferation. Additionally, the removal of suckers arising from the base of the tree fosters the cultivation of a singular, robust trunk, epitomizing the epitome of coconut tree elegance.

8. Pollination

While nature often orchestrates the intricate dance of pollination, intervention may be warranted in certain scenarios, particularly for those nurturing dwarf coconut varieties within indoor confines. Facilitating the dissemination of pollen, a gentle shaking motion during the flowering phase suffices, ensuring the seamless progression towards fruit-bearing fruition.

9. Pest and Disease Management

Vigilance serves as the cornerstone of effective pest and disease management, with coconut trees, albeit resilient, susceptible to the occasional infestation or ailment. From the menace of coconut mites to the insidious onset of root rot, prompt detection and remedial action are paramount, safeguarding the tree’s well-being and productivity.

How to Grow a Coconut Palm | Living Color Garden Center

10. Harvesting

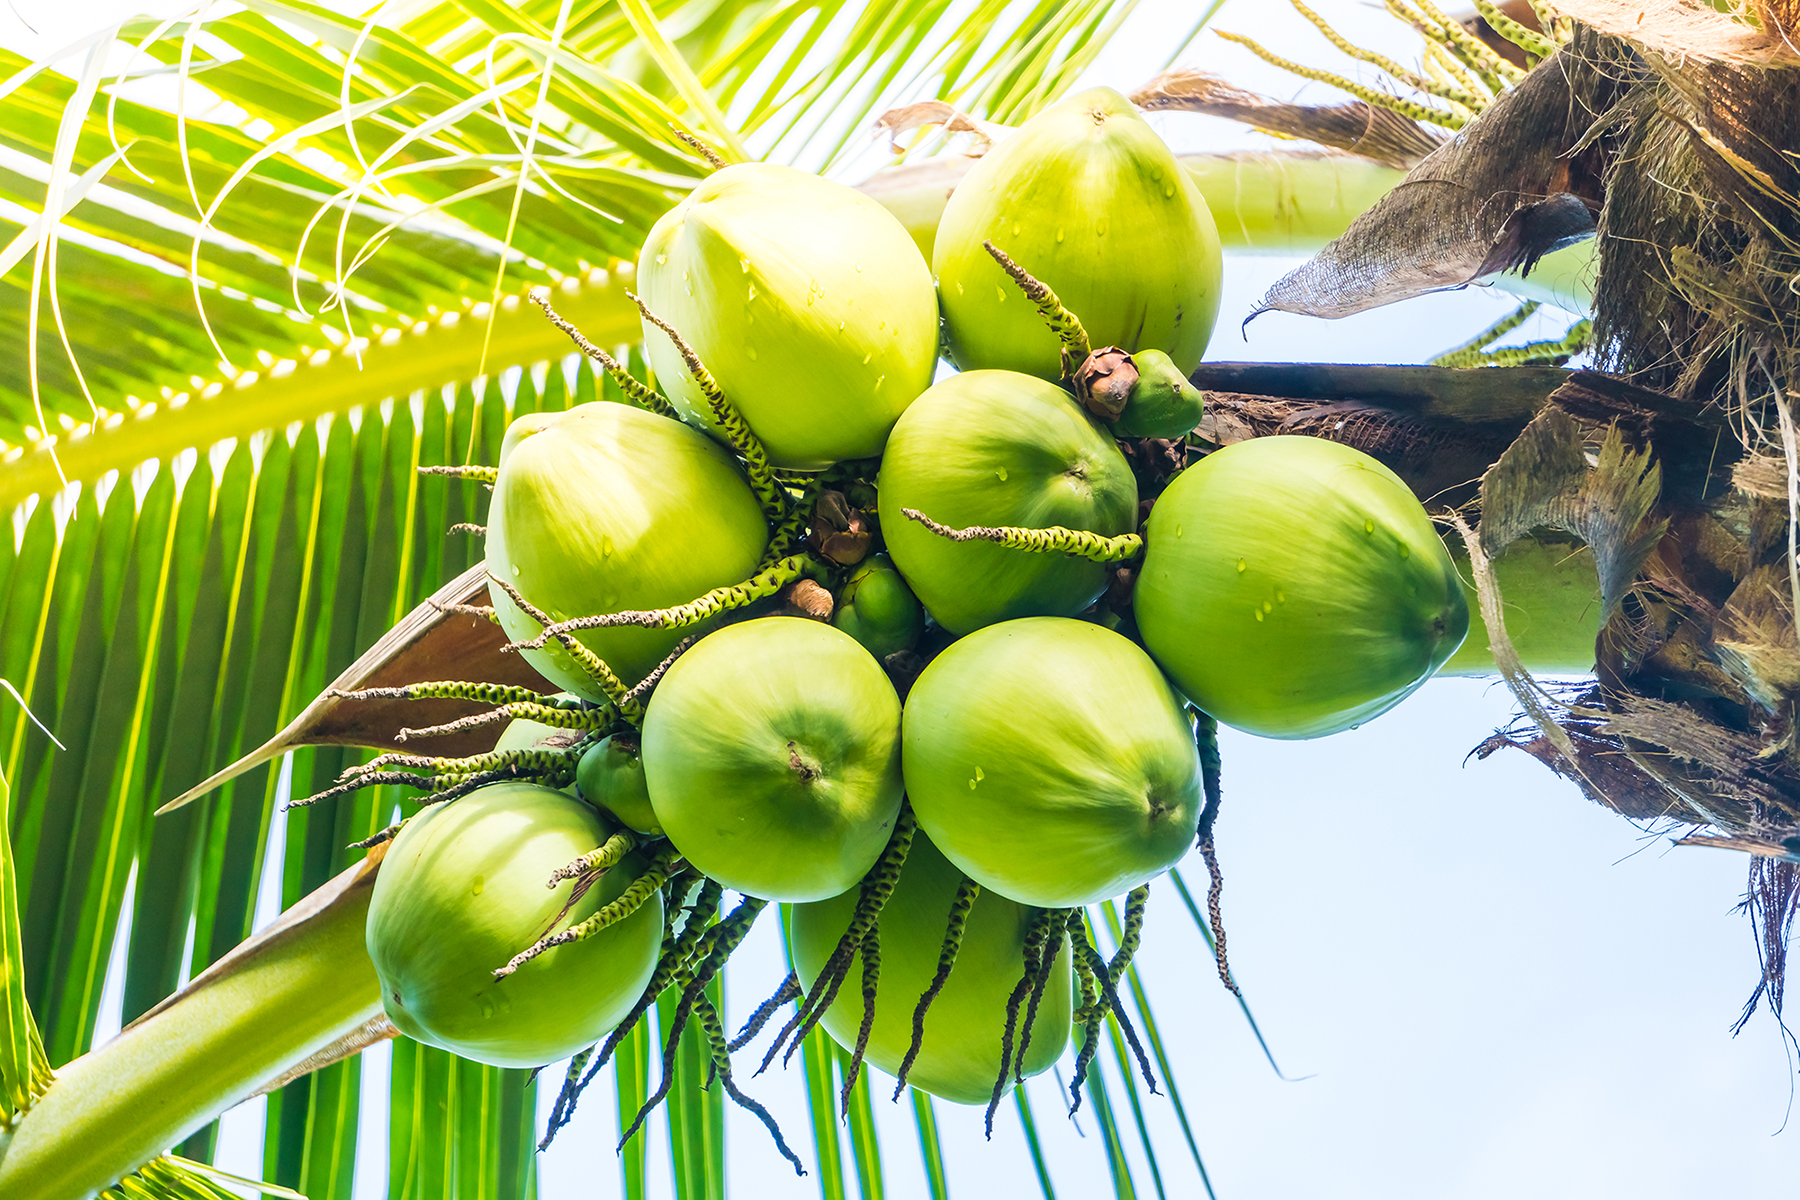
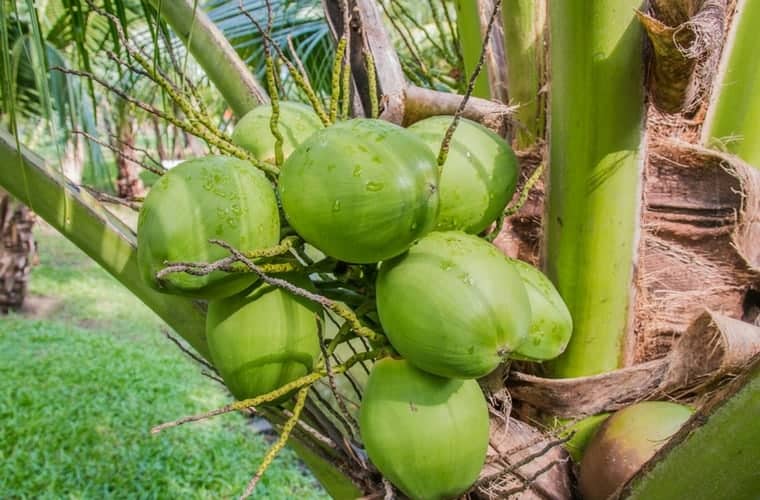
The culmination of years of nurturing, leading to the eagerly anticipated moment of harvesting, marks the fruition of your laborious efforts in mastering “How to Grow Coconut”. With the coconut’s husk transitioning to a rich brown hue and gracefully detaching from the tree, the time for harvest has arrived. Armed with a machete or knife, the husk yields to deft incisions, revealing nature’s bounty within—fresh, invigorating coconut water and luscious, nutrient-rich flesh await your indulgence.

Conclusion

In conclusion, embarking on the journey of coconut cultivation within the confines of your home garden heralds a gratifying odyssey, replete with botanical marvels and culinary delights. By adhering to the tenets outlined within this comprehensive guide, you are poised to unlock the secrets to successful coconut cultivation, paving the way for a bountiful harvest and an enduring connection with nature’s tropical treasures. So, with sleeves rolled up and spirits ignited, let the adventure commence as you delve into the wondrous world of homegrown coconuts, where every step brings you closer to the paradisiacal allure of the tropics, right in your very own backyard.

From Seed to Spice: How to Grow Clove Plants at Home

How to Grow Clove Plants at Home

How to grow Clove plants at home, Clove, a versatile spice with a rich history and distinctive flavor, adds depth and aroma to a wide range of culinary dishes and beverages. While commonly associated with tropical regions, clove plants can also thrive in home gardens, providing an abundant supply of fresh cloves for culinary and medicinal purposes. In this comprehensive guide, we’ll explore the step-by-step process of growing clove plants at home, from selecting the right seeds to harvesting and beyond. Let’s embark on a journey from seed to spice and unlock the secrets of growing clove plants in your garden.

Clove seeds - Health Benefits & Uses of Clove seeds – Traya

Understanding Clove Plants:

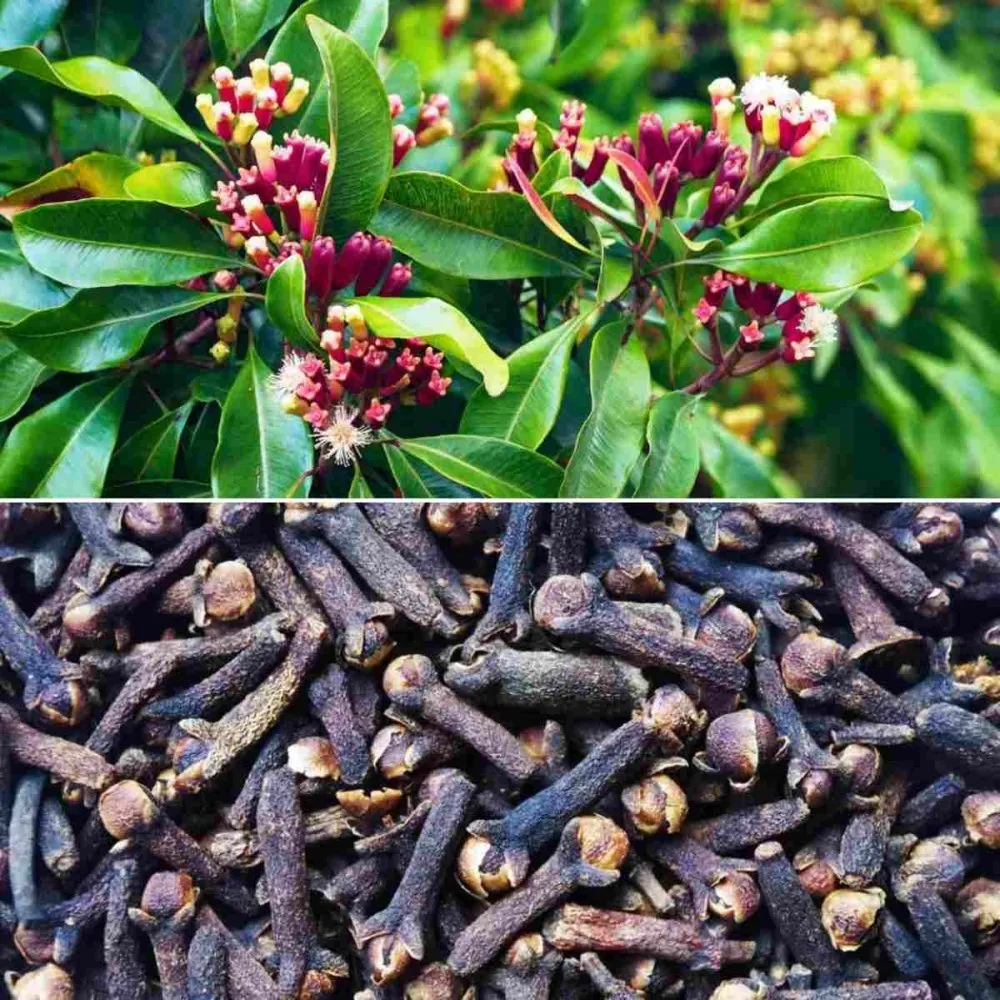
How to grow Clove plants at home, Clove (Syzygium aromaticum) is a tropical evergreen tree native to the Moluccas (or Spice Islands) of Indonesia. It belongs to the Myrtaceae family and is valued for its aromatic flower buds, which are harvested and dried to produce cloves—a popular spice used in cuisines around the world. Clove plants thrive in warm, humid climates with well-drained soil and partial shade, making them suitable for cultivation in subtropical and tropical regions.

Selecting Clove Seeds:

When growing clove plants at home, it’s essential to start with high-quality seeds sourced from reputable suppliers or nurseries. Look for seeds that are fresh, plump, and free from signs of damage or disease. While clove seeds can be challenging to find commercially, they may be available through specialty spice shops, online retailers, or botanical gardens that specialize in tropical plants.

Preparing the Growing Environment:

Clove plants require specific growing conditions to thrive, including warm temperatures, high humidity, and well-drained soil with a slightly acidic to neutral pH. Before planting, prepare the growing environment by selecting a suitable location with partial shade and shelter from strong winds. Amend the soil with organic matter, such as compost or aged manure, to improve its texture and fertility.

Preparing Garden Soil for Planting: Soil Amendments, pH, Nutrients, and More | The Old Farmer's Almanac

How to Grow Clove Plants at Home, Planting Clove Seeds:

Clove seeds are best sown directly into the ground or in large containers, as they have a delicate root system that can be damaged during transplanting. Plant the seeds in well-prepared soil at a depth of approximately 1/2 inch, spacing them 8 to 10 feet apart to allow for proper growth and development. Water the seeds thoroughly after planting and keep the soil consistently moist but not waterlogged.

Caring for Clove Plants:

Once established, clove plants require regular care to ensure healthy growth and development. Provide consistent moisture, especially during dry periods, and mulch around the base of the plants to conserve moisture and suppress weeds. Fertilize clove plants annually in the spring with a balanced fertilizer to promote vigorous growth and abundant flowering.

How to Grow and Care for Clove Trees

Pruning and Training:

Pruning is essential for maintaining the shape and structure of clove plants and promoting optimal fruit production. Remove dead, diseased, or damaged branches as needed, and prune the plants to maintain an open canopy and improve air circulation. You can also train young clove plants to a central leader or desired shape to encourage upward growth and maximize fruit-bearing potential.

Protecting Against Pests and Diseases:

While relatively pest and disease-resistant, clove plants may occasionally encounter issues such as aphids, scale insects, or fungal infections. Monitor the plants regularly for signs of pests or disease, and take appropriate measures to control them if necessary. This may include using insecticidal soaps, neem oil, or organic fungicides to manage pests and maintain plant health.

Harvesting Cloves:

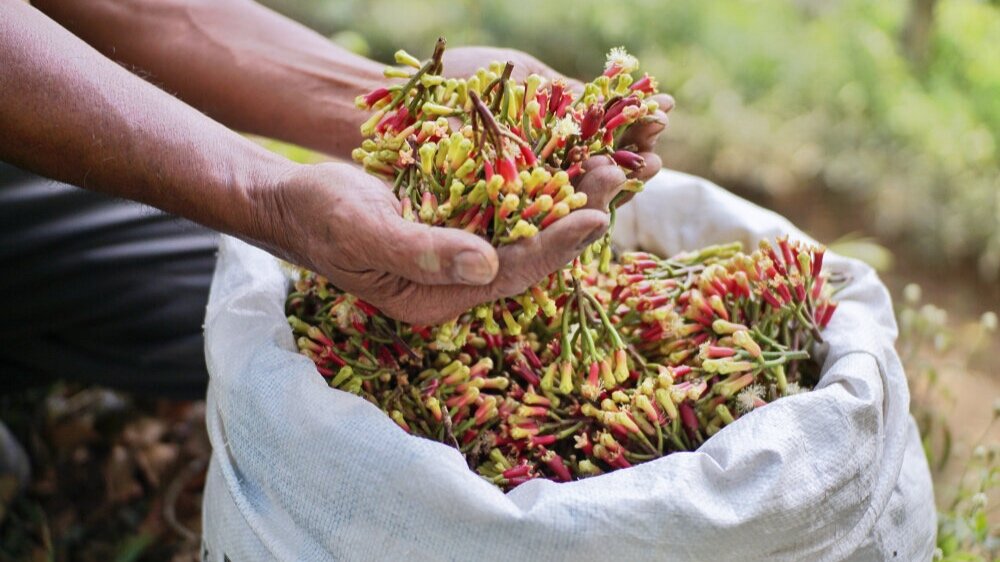
Clove plants typically begin flowering and producing flower buds after three to five years of growth. Harvest the flower buds when they reach their maximum size and are still tightly closed but showing a slight blush of color. Use sharp pruning shears or scissors to carefully cut the flower buds from the plant, taking care not to damage the surrounding foliage or stems.

Clove, a Spice That's Extra Nice — Solidago School of Herbalism

Drying and Storing Cloves:

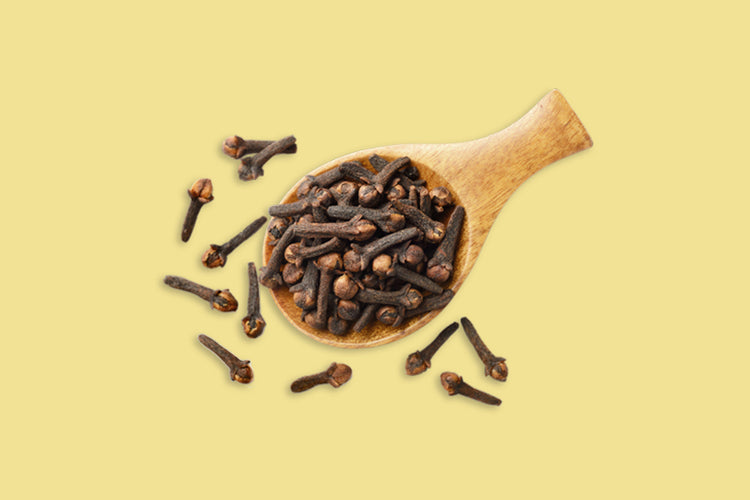
After harvesting, dry the clove buds immediately to preserve their flavor and aroma. Spread the flower buds in a single layer on a clean, dry surface, such as a wire rack or screen, and place them in a warm, well-ventilated area away from direct sunlight. Allow the cloves to dry completely for several days to a week, depending on the humidity levels in your area. Once dry, store the cloves in airtight containers in a cool, dark place to maintain their freshness and potency.

Using Cloves in Cooking and Medicine:

Clove is a versatile spice with a wide range of culinary and medicinal uses. In cooking, cloves add warmth and depth to savory dishes, desserts, and beverages, such as curries, baked goods, mulled wine, and chai tea. Medicinally, cloves are valued for their analgesic, antimicrobial, and anti-inflammatory properties and are used to alleviate toothaches, sore throats, and digestive issues.

Clove Supplements: Benefits, Uses, Side Effects

How to grow Clove plants at home, Growing clove plants at home is a rewarding and fulfilling endeavor that allows you to experience the magic of cultivating your own spices from seed to spice. By selecting high-quality seeds, preparing the growing environment, planting with care, and providing proper care and maintenance, you can enjoy a bountiful harvest of fresh cloves for culinary and medicinal purposes. Whether used in cooking, medicine, or aromatherapy, cloves are sure to add warmth, flavor, and aroma to your home and garden.