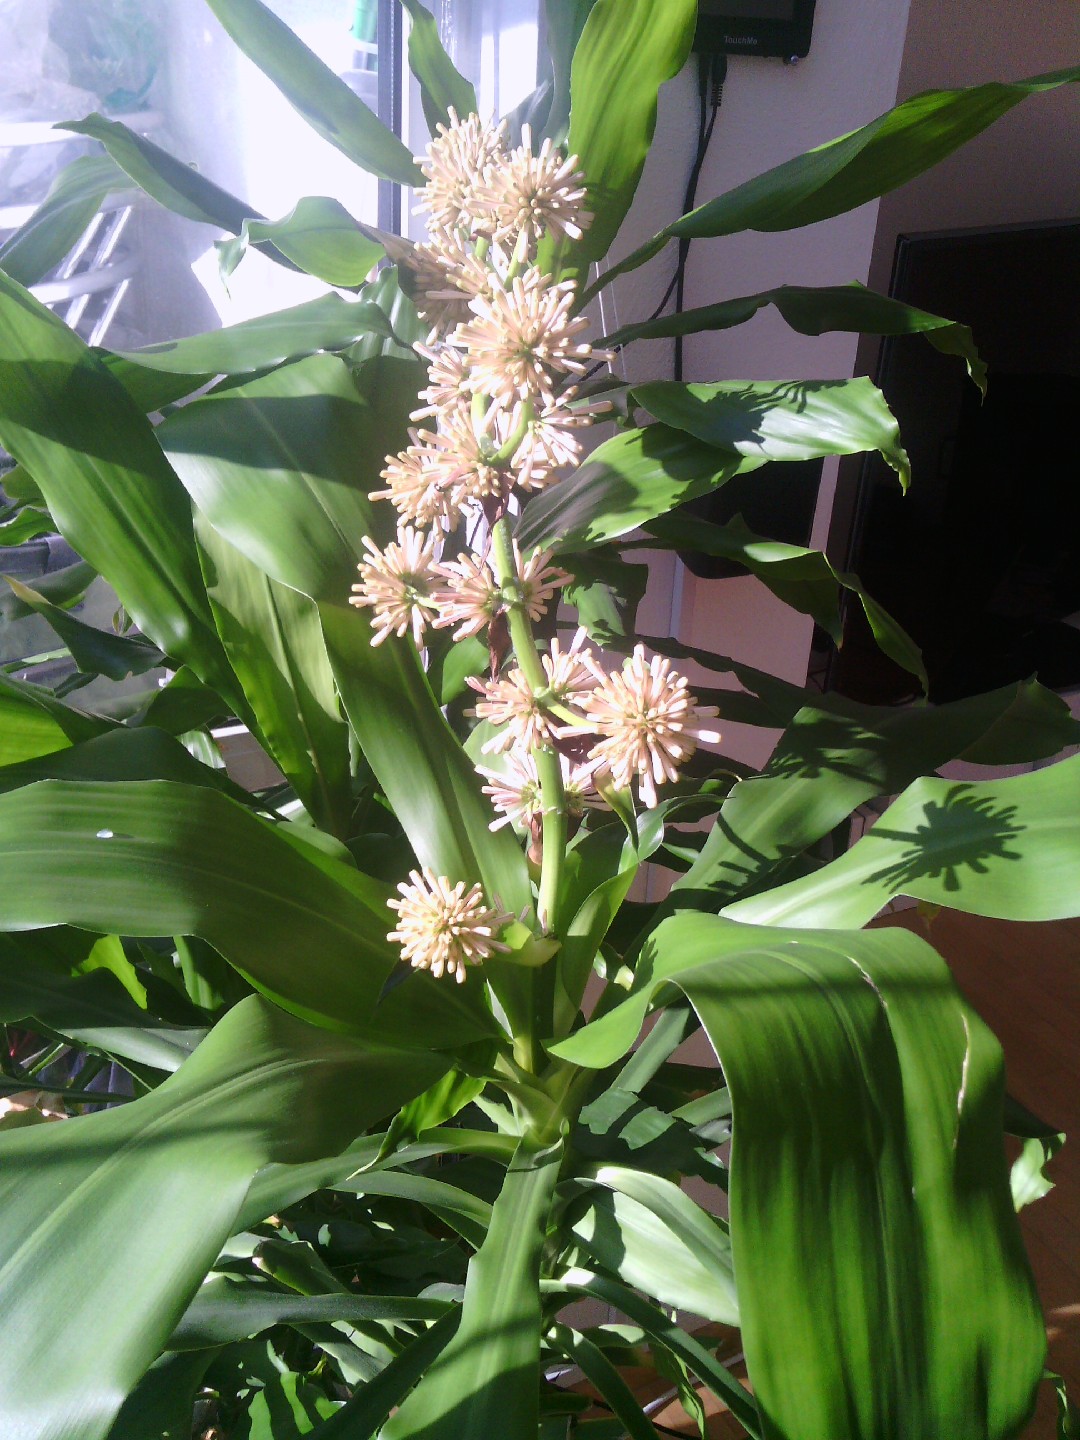
The repotting fiddle leaf fig (Ficus lyrata) is renowned for its striking foliage, making it a favorite among plant enthusiasts. To keep this indoor beauty thriving, repotting is a key aspect of care. Whether your fiddle leaf fig has outgrown its current home or needs a refresh, follow these 5 easy steps for successful repotting and watch your plant flourish.
Repotting fiddle leaf fig

1. Timing is Key: Assessing the Need for Repotting
The first step in repotting your fiddle leaf fig is determining whether it’s the right time. If you notice slowed growth, roots emerging from the drainage holes, or the soil drying out more quickly than usual, it’s likely time for a new pot. Spring is an ideal time for this process, as it aligns with the plant’s natural growth period.
2. Choosing the Right Pot and Soil: A Critical Duo
Select a pot that is 2 inches larger in diameter than the current one to allow for growth. Ensure the new pot has drainage holes to prevent waterlogged soil. Opt for a well-draining potting mix with a blend of peat moss, perlite, and pine bark. This combination mimics the fiddle leaf fig’s native environment, promoting healthy root development.
3. Gentle Extraction: Removing the Fiddle Leaf Fig from Its Pot
Before attempting to repot, water the fiddle leaf fig thoroughly to ease the extraction process. Turn the pot on its side and tap the bottom to release the root ball. Gently loosen the soil around the edges, and carefully lift the plant from the pot. If the roots are tightly wound, consider teasing them apart slightly to encourage outward growth. Repotting fiddle leaf fig
![]()
4. Centering and Filling: Placing Your Fiddle Leaf Fig in Its New Home
Position the fiddle leaf fig in the center of the new pot, ensuring the top of the root ball sits just below the rim. Add the prepared potting mix around the sides until the roots are covered, pressing down lightly as you go. Water the plant to help settle the soil, and add more mix if needed. Be cautious not to bury the plant deeper than it was in its previous pot. Repotting fiddle leaf fig.
5. Post-Repotting Care: Nurturing Your Fiddle Leaf Fig to Thrive
After repotting, place your fiddle leaf fig in a location with bright, indirect sunlight. Avoid direct sun exposure, as this can cause stress to the recently disturbed roots. Water the plant thoroughly but allow the top inch of soil to dry out before the next watering. Monitor your fiddle leaf fig closely in the weeks following repotting, adjusting care as needed based on the plant’s response.
Conclusion:
Repotting fiddle leaf fig may seem like a delicate process, but by following these 5 easy steps, you’ll provide your plant with the space and nutrients it needs to continue thriving.Repotting fiddle leaf fig Remember to assess the timing, choose the right pot and soil, handle the extraction gently, center the plant in its new home, and provide post-repotting care for optimal results. With a little care and attention, your fiddle leaf fig will reward you with lush, vibrant foliage, becoming a stunning focal point in your indoor oasis. Happy repotting!


1 thought on “How to repot a fiddle leaf fig: 5 easy steps to follow”